Wednesday, November 25, 2015

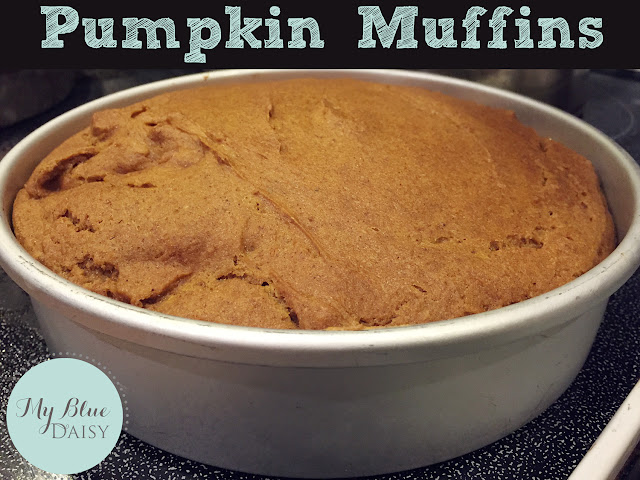
Pumpkin Muffins: Gluten, Dairy, and Egg Free


These are so good!  This recipe is the first light and fluffy muffin/cake recipe I successfully achieved while baking according to my son's food allergies.  Good pictures to come - someday when my mommy-load is lighter.  I know it's hard to trust a recipe without good photos these days, but do try this one anyway.  And if you do, let me know how it goes.  I hope you love it!!!  

(If you do not have Young Living essential oils, try using 1 scant tsp freshly grated nutmeg, scant tsp ground cinnamon, and 1/4 tsp ground clove.)

1 2/3 cup gluten free flour blend (I use Namaste brand which includes xanthan gum in the mix.)
1/4 tsp baking powder
1 tsp baking soda
1/2 tsp Real Salt (or natural sea salt)
1 cup raw sugar

1/4 c. melted butter (I use Earth Balance or Coconut Oil)
1 to 2 drops each Young Living Cinnamon, Nutmeg, and a half drop of Clove essential oils.  
1/2 c. unsweetened apple sauce (You could use eggs instead.)
1/4 c. cold water
1 1/2 pumpkin puree

Stir your dry ingredients together.  Stir wet ingredients together.
Stir wet ingredients into dry until well combined.  Mixture will be thick.
Spoon into your muffin cups or a cake pan.  I spray them down with coconut spray and then fill to 3/4 full.  Bake at 350 degrees for about 30 minutes, or until done.

We do not ice these.  I think a cream cheese icing would be sooooo good if you can tolerate dairy.


Sunday, November 15, 2015

Enjoying Thanksgiving with Food Allergies

Hello friends!  Thanksgiving is almost here; are you excited?  I love this time of year!  The evenings start earlier and the weather is cooler.  I look forward to evenings at home in front of the fireplace with all the family around.  I look forward to big family meals, to Advent and to decorating the home.  I'm not so great at decorating, but I love trying anyway.  

My favorite Thanksgivings are the ones we get to stay at home.  I love traveling to visit family, but traveling with ALL the family favorite dishes, even traveling across town, is quite the endeavor.  So it's a special treat to be at home and be able to cook all our favorites in my own kitchen.  Since my children have food allergies, traveling withOUT our own food isn't an option.  I can't quite imagine expecting even our closest family to manage our food allergies for us.  

Each of my children have their own favorite dishes, many of which are only prepared at Thanksgiving and Christmas.  So twice a year, I make a huge meal plan, and cook everyone's favorite to be served at the Thanksgiving and Christmas table.  Below is the list of what we are preparing again this year.  Note:  my children have different food allergies.  What one child can safely eat, another cannot.  So if this list seems like a crazy hodge podge of foods, rest assured it really is and it fits us perfectly.   I will note which recipes contain dairy and eggs.  All recipes are gluten-free.  Some are grain free entirely.  Every recipe, except the actual potato dishes are potato free.

Also note that we consume more sugar on Thanksgiving and Christmas than we do the entire rest of the year.  ;) While we do our best to keep processed sugar to a minimum most of the year, including skipping out on Halloween and Valentine candy, Thanksgiving and Christmas I make our favorites and we thoroughly enjoy them without guilt on those two days a year.

Thanksgiving and Christmas Menu

Turkey with Gravy - yes, gravy!  Its a gluten free Victory to have gravy. 
Ham with Glaze
Stuffing - two recipes
Cinnamon Roasted Butternut Squash with Pecans (think sweet potato casserole, but with squash.  So good!)
Mashed Potatoes
Baked Sweet Potatoes
Green Beans with bacon
Glazed Carrots
Broccoli Salad (contains egg)
Vegetable Tray
Deviled Eggs (contains egg)
Gluten Free Turkey Pot Pie (for the leftovers)

Gluten Free Pumpkin Pie (contains egg and dairy)
Gluten Free Pumpkin Muffins with Coconut Whip Cream
Chocolate Cream Cheese Layer Dessert (contains nuts and dairy)
Gluten Free Chocolate Chip Cookies

Raw Cranberry Punch

Now how does all this happen in one kitchen, prepared (mostly) by one person?  A LOT of planning. I even have to plan out what meals will be prepared in one pan/dish.  When we first found out about our children's food allergies, we pitched most of our cheap cookware in exchange for better quality stainless steel.  Not only does teflon cookware contain toxins that can be released into your food, but it also can hold onto allergens/proteins and lead to cross contamination.  Because of cross contamination, most of my stoneware had to go also.  I was able to keep my cast iron pans and simple strip those down and recondition.  As we replaced and decluttered our old cookware, I kept the new pans to a minimum.   That makes it easier to maintain and store my cookware, but it can make Thanksgiving and Christmas a bit challenging.  I can manage this with careful planning, though.   The prep work will start on Monday and the cooking begins on Wednesday this year.  This year we are having a small family Thanksgiving dinner on Thursday with a larger family gathering on Friday. I cannot wait to see our family!!

Now for recipes.  I will start adding those in here one by one throughout this week.  For all those who are just starting on the journey of food restrictions, I hope this helps!!

-Michelle


Friday, October 30, 2015

Handcrafted soap - DIY real, luxurious soap!


I have wanted to make soap for years.  I first bought the supplies years ago, but then let them sit in the basement for ages and then even moved them to our current home 2 years ago.  Why did I let
them sit out of sight?  Because I thought making soap was hard and handling lye made me nervous since I have children at home with me.  That alone is amusing to me because I'm a chemist and worked in labs with much more caustic and dangerous materials.  But there is something about lye that makes many people nervous.  So that's why I'm blogging about it and talking about it so much now.  It's not scary, at all.  Caustic materials should be respected and safety precautions taken, but as long as you do that you will be fine.  And making your own handcrafted soap is rewarding for those of us who like to DIY, and it's one more step you can take to reduce the chemicals and synthetic materials in your home.  Most store bought soaps, and even most handcrafted soaps contain synthetic chemicals and fragrances.  Unfortunately, peppermint is not always peppermint, sometimes it's just a synthetic, adultered, chemical fragrance.


On this page I listed out supplies that you will want to have on hand for soaping.  Keep this list on hand to refer back to as needed, but you may find you have most of the supplies you need right in your own kitchen.  Note: My links are affiliate Amazon links at no cost to you.  You may choose to use them or not.  If you do use them, my family thanks you.

Let's jump right in to lye safety.  Lye is sodium hydroxide, a base, that is necessary for the saponification process (turning oil into soap).  You can find the material safety data sheet on lye online or with you product that you purchase.  Here is one msds sheet.  Let's break that information down.  1) Wear protective gloves.  2) Wear long sleeves.  3) Wear safety glasses.  4) Measure and mix in a well ventilated area.  5) Have water ready to wash anything that you might spill lye on.  6) Handle carefully.  That's about it.  Carry on, you've got this.


I don my safety wear (long sleeves, glasses, and gloves) and set my digital scale on some parchment paper on the counter.  I weigh my lye out here because my counters and nice and steady.  (How much?  We'll talk recipes in a bit.  Remember to always run your recipe through a lye calculator. Not sure what this is?  Keep reading.)  After I weigh out my lye (dry, crystals that look like a salt), I carefully carry the bowl of measured lye outside where I pour into my measured water.  That's the last safety tip I can think of.  Dissolving lye into water is an exothermic reaction - meaning the solution will become hot as you add the lye.  That's why you want to make sure you always add the lye to the water.  Lye to the water...  That's your mantra as you stir.  Keep a full arm length distance as you stir to avoid breathing any fumes.    Once it's all dissolved, I wait a few minutes and then bring it back inside to cool before soaping.


Now that you have lye solution ready, the next thing to do is prepare your oils.  There are many options on what oils to use.  The most common, and readily available oils, are coconut oil and olive oil.  My favorite recipe uses these two oils and also raw cocoa butter.  Another oil you might want to considers is Castor oil.  Coconut oil makes can help create a soap with a lovely lather - lots of bubbles.  It can also help harden your soap to help make a long lasting soap.  Olive oil makes a rich, moisturizing soap, but it can be a softer soap and less lather.  Castor oil supports a rich later and also can harden your soap.  Raw cocoa butter has a lovely natural smell (like chocolate) and creates a luxurious soap.  You can research properties on other oils on this chart from Lovin' Soap.  If you are interested in custom blending your fatty oils, I highly recommend thoroughly studying that chart.


The next resource you will need is a lye calculator.  When making soap, it's important to measure accurately and add enough lye to create soap, but not so much that you have a skin-drying, or even caustic soap.  For a small batch of soap the difference between a luxurious soap and a drying soap could be less than 0.5 oz  of lye.  That's why a soap / lye calculator is important.  You just enter the amount of oils you have and the calculator will tell you how much lye to use.  The calculator does the math for you.  Perfect!

Now the lye calculator will ask you to choose a percent superfat.  Superfat is basically a measure of how much "extra" oil is in your soap.  If you want a soap that is very cleansing and has little to no extra oil, choose 2% superfat.  Especially if you are making a soap to use for laundry.  For a bath bar, 8-12% is a good range.  Too high of superfat will leave you with a soft bar that is less cleansing.   Too low will yield a cleansing bar that is drying.  Experiment to find your happy spot.


Below is my current favorite recipe.  It's a cold process recipe.  More on cold process vs. hot process on a later blog.  Please feel free to double check my math on a lye calculator and adjust your oils to fit your own needs.  If you are using a loaf-type mold, this recipe will make about 8 - 5oz bars of soap.  Note:  I use virgin coconut oil, but refine will also work.


Now let's break down the process step by step.

First, measure out your fats/butters/oils.  I'm following this recipe except I used Shea butter in place of cocoa butter.  Keep in mind that if you swap out oils, you need to run your recipe through the lye calculator again.  30oz of olive oil requires a different amount of lye for saponification than 30 oz of coconut oil.  You cannot swap most oils 1:1 in a recipe and yield the same soap.

(If you do not have cocoa butter, melt/blend together 16 oz of virgin coconut oil

Once your oils are measured, warm them up together on the stove or in a slow cooker.  I usually end up with my oils around 135 degrees when they are all well melted and blended together.  It's really helpful to have a temperature gun when making soap.  A cooking or candy thermometer will work, but its messy and you have to clean it when going back and forth between the lye and oils.  Remove the oils from the heat and let the mixture begin to cool.


While your oils are melting/cooling, carefully measure out your lye into a glass, stainless steel, or plastic #5 (polypropylene) container.   I lay down parchment paper for easy clean up and measure on my counter.  Be sure your area is well ventilated and pets and children know to stay back so there are no trips or accidentals spills.   Measure out your water, also.  Carry your water and your lye outside or to a VERY well ventilated area.  This part gets fume-y.  I go outside to do mine and have my daughter keep an eye on our dog who always follows me out.  Once in a well ventilated area, slowly add your lye to your water.  Always add lye to water and stand back a little when you do so.  It's an exothermic reaction and it will get very warm.  Adding water to lye could create a too warm, too fast, too fume-y mess.  Once the lye is well dissolved into the water, let it sit outside for a few minutes.  Keep your pets away so they don't spill it.  Bring it inside, let it cool, and check the temperature every few minutes.  You want your lye and your oils to cool to below 130 degrees F.   Ideally, you want your lye and oils to be within 10 degrees of each other.  I am impatient and I usually soap around 120-125 degrees.


Once your oils and lye are cooled to below 130, place your immersion blender into your blend of oils and tap it a few times to release any trapped air bubbles.  Note: you can whisk soap up by hand.  Just know that it takes a lot of arm power and about 90+ minutes of brisk whisking.  Thus, I love my immersion blender for soaping.

Begin running your immersion blender then slowly pour your lye solution into your oils.  I generally pour down the blender shaft to minimize splashing.  Once all your lye solution is incorporated, continue pulsing your oils+lye mixture on and off while stirring.  It generally takes me a little over 5 minutes to reach trace.  What's trace?  It's where the soap magic happens.  Check out this video for a visual explanation.


If you are going to add essential oils to your soap, you will want to add them at trace.  Mix them in well before pouring into your mold.  As for molds, you can see in the video that I use mostly molds that I had around the house already.  I have this great little wooden box and cardboard box that are just the right size for my personal preference.  If you use something like this you have to line it well with parchment paper, which I admit is kind of a pain.  If you choose a silicone mold like these, you will not have to bother with parchment paper.  I'm looking forward to adding some of these to my soap supplies.

Once you have poured your soap into your molds, just let it set.  Depending on your recipe, climate, temperature, etc., you can unmold your soap in a few hours to a day or so.  My recipes are usually ready to unmold within 8 hours.  Sometimes I let it set overnight and unmold in the morning.  Here is what my soap looks like when I unmold, plus some clean up tips.

And cutting soap is nothing fancy either.  Here is how I cut mine, and the guy who keeps me smiling. He brings the humor into our home.


To review, in short, here is how you make soap.

1. Select your recipe and check it in a lye calculator.
2. Measure and dissolve your lye into your water.  Let it cool to below 130.
3. Measure, combine and warm your oils together.  Let it cool to below 130.
4. Combine your lye solution into your fat solution.  Blend well, pulsing until trace.
5. Pour your traced soap into your prepared molds.
6. Let set until set up - should not be squishy at all.  Unmold and let sit until cooled to room temperature.  If you need to cut into bars, cut.  Let your soap set for 2-6 weeks so it will be fully hardened.

Please post questions below.  Videos are way out of my comfort zone, so I'm sure I forgot a few things.  I hope you all love your soap!!!


Tuesday, April 14, 2015

How I Organized My Young Living Business

We have considered ourselves a holistic-minded family for quite a few years now.  I remember back when our little ones were babies and my husband and I were both working full time and traveling with our careers.  I remember staying up late hand washing fresh, organic spinach, then chopping and lightly steaming that spinach so I could prepare tiny ice frozen cubes of the best produce I could get to send with our babies for their day care lunch.  A lot has changed since then, but we still try to do our best to provide healthy meals and a wellness-focused, Christ-based lifestyle for our "babies".  


Last year we started sharing about one of the tools we use in our wellness-focused life - Young Living Essential Oils.  Wow!   Has it ever been an amazing year of business and personal growth.  I had no idea that sharing a few simple testimonies would open the door to an amazing business.   Learning to keep up with an ever-growing business, while maintaining relationships, homeschooling, and all the other things we are passionate about in life has been the biggest opportunity for personal growth.  I can't think of a bigger personal growth accelerator.   

One of the things that I wanted to tame is how the business can take over my small office area.  I don't  have a bunch of paperwork, inventory or "stuff" to keep track of, because this business does not work that way - Praise the Lord!  But what I do have I like to keep accessible and organized.  I also like to keep it mobile because we are an on-the-go family.  It's so easy to meet a friend for tea before I pick up groceries or while the kids are at gymnastics, so I like to have a small class-on-the-go bag ready so I'm not spending time gathering things.  I also love teaching essential oil education and make and take classes, but again - as a busy mom I want to be efficient with my time so I am not spending time gathering items.  We LOVE our oils and we are constantly amazed at the power behind these essential oils that God created on the third day, but I can't effectively share about these oils if I'm constantly looking for my pocket reference or my keys.  

So this is how I got myself organized this month.  And yes, most people would get organized BEFORE they started a business.  But we didn't intend to start a business, we were just sharing about what we loved.  And so here I am a year later trying to get organized so we can reclaim our homeschool room for it's intended purpose - housing incredible books.


I set up class bags.  That's it.  It's that simple.  I can get most everything I need for just about any type of class into two bags.  Granted, they are sturdy and have pockets.  But it all fits and doesn't look messy.  I can set these bags onto a shelf or closet in the room we have designated for business use and I'm ready to run.

Here is what I assembled to make my business ready to run.  This bag (Thirty-One Essential Storage Tote) contains the kit / kits that I have on hand for local friends and family who need oils and diffuser urgently.  It also contains a cute little "welcome to the oily family" gift.


This "Class in a Bag" is the Deluxe Utility Tote.  I stock this with:
  • Premium Starter Kit to display
  • Starter Guide Booklets from Oil Revolution Designs (I use those to teach 101 classes from and gift to new members.)
  • Welcome Kits (all the little supplies a new member would need, including a cute oils bag)
  • Product Guide
  • Golden Touch Kit - because everyone needs to know about DiGize, right??
  • Lavender Lotion - because it's awesome.
  • Pocket References (an usually a Desk Reference, too.)
  • Silver in 6 Pad Folio with an iPad
  • Clip boards for attendees to take notes, if they like
  • And then there is a little room left over for anything else I might want to take like a new Premium Starter Kit, maybe some Ningxia Red to share, or a laptop.
The Starter Guides, Product Guide, and anything else that is paper is kept secure in a Fold N' File to prevent any bent pages.  Love that thing!


This is a smaller version of a "Class in a Bag" using the Large Utility Tote from Thirty-One bags.  I put this together to show you how well it fits.  This bag will actually become my home supply storage bag and will be kept up on a shelf in the office.  It will be holding (in more Fold N File containers) note cards and envelops to send gifts and cards to friends.  There is also plenty of space to store supplies to make Epsom salt gifts and roller bottles.  Sweet!


All gathered together... we are organized, ready to share, ready to run.  I love it!!  

If you love these bags, too, please consider purchasing from this online fundraiser party.  This party closes at the end of April.  And in April - personalization is only $3.50 for each item.  Thank you so much!!

And if you need oils (or just more information on essential oils) - use the link at the top or email me at mgeis01@gmail.com.  We have a wonderful, supportive team to help you whether you are interested in a healthy lifestyle or in a home-based business.  We LOVE what we do and are always looking for more amazing people to share with.

Be healthy, befficient, be organized, be successful - all so you can spend more time doing the things you love.


Friday, April 10, 2015

Power Meal - Perfect Dairy Free Protein Shake

We absolutely love having Young Living's Power Meal at our home.   Nourishing kids with food allergies who are also active, athletic, and on the go can be a challenge, especially when you are trying to avoid food dyes, perservatives, artificial sweeteners and other junk.  I am thrilled to have this supplement!!  Anytime I can get more nutrition into my kids and they actually like it and it's easy??  I am really thankful for Young Living's committment to providing the best.  

We use Power Meal as a meal supplement on days that the kids are training for 2 or more hours at gymnastics.  They generally eat pretty well, but the extra protein and calories are needed on those days, not to mention all the wonderful nutrients in Power Meal.  And they just think they are sipping down a cool and tasty treat.   
For myself, I love using Power Meal as a meal replacement for breakfast or even lunch on those really busy days.  And when I'm working hard to get my protein macros up, this is my go to supplement.  I have tried MANY different protein supplements but I just cannot tolerate the whey or soy products, not to mention that many protein shakes out there either have a ton of sugar or they have artificial sweeteners.  No thanks.  After much searching, this is where we are staying.  


Power Meal is enhanced with 6 essential oils, provides 20 grams of protein, is dairy-free, easily absorbed, and is rich in amino acids and selenium (among other great nutrients).  It is a rice-based protein shake and my kids prefer it blended with some fruit, kale, raw cacao, or coconut milk.  They love to plan little chef and try different recipes everytime we make it.  Some of our favorite recipes are listed here on this graphic.  Below is a video of our all time favorite way to prepare it, but the options are endless.  Just today I blended up recipe #1 above.  Then I added about 3 drops of Young Living Orange Essential oil to my glass mason jar before pouring in the Power Meal smoothie.  I mixed that up with a glass straw and it was soooo good.  Try it and see what you think!!  Then come back and let us know.


Thursday, December 4, 2014

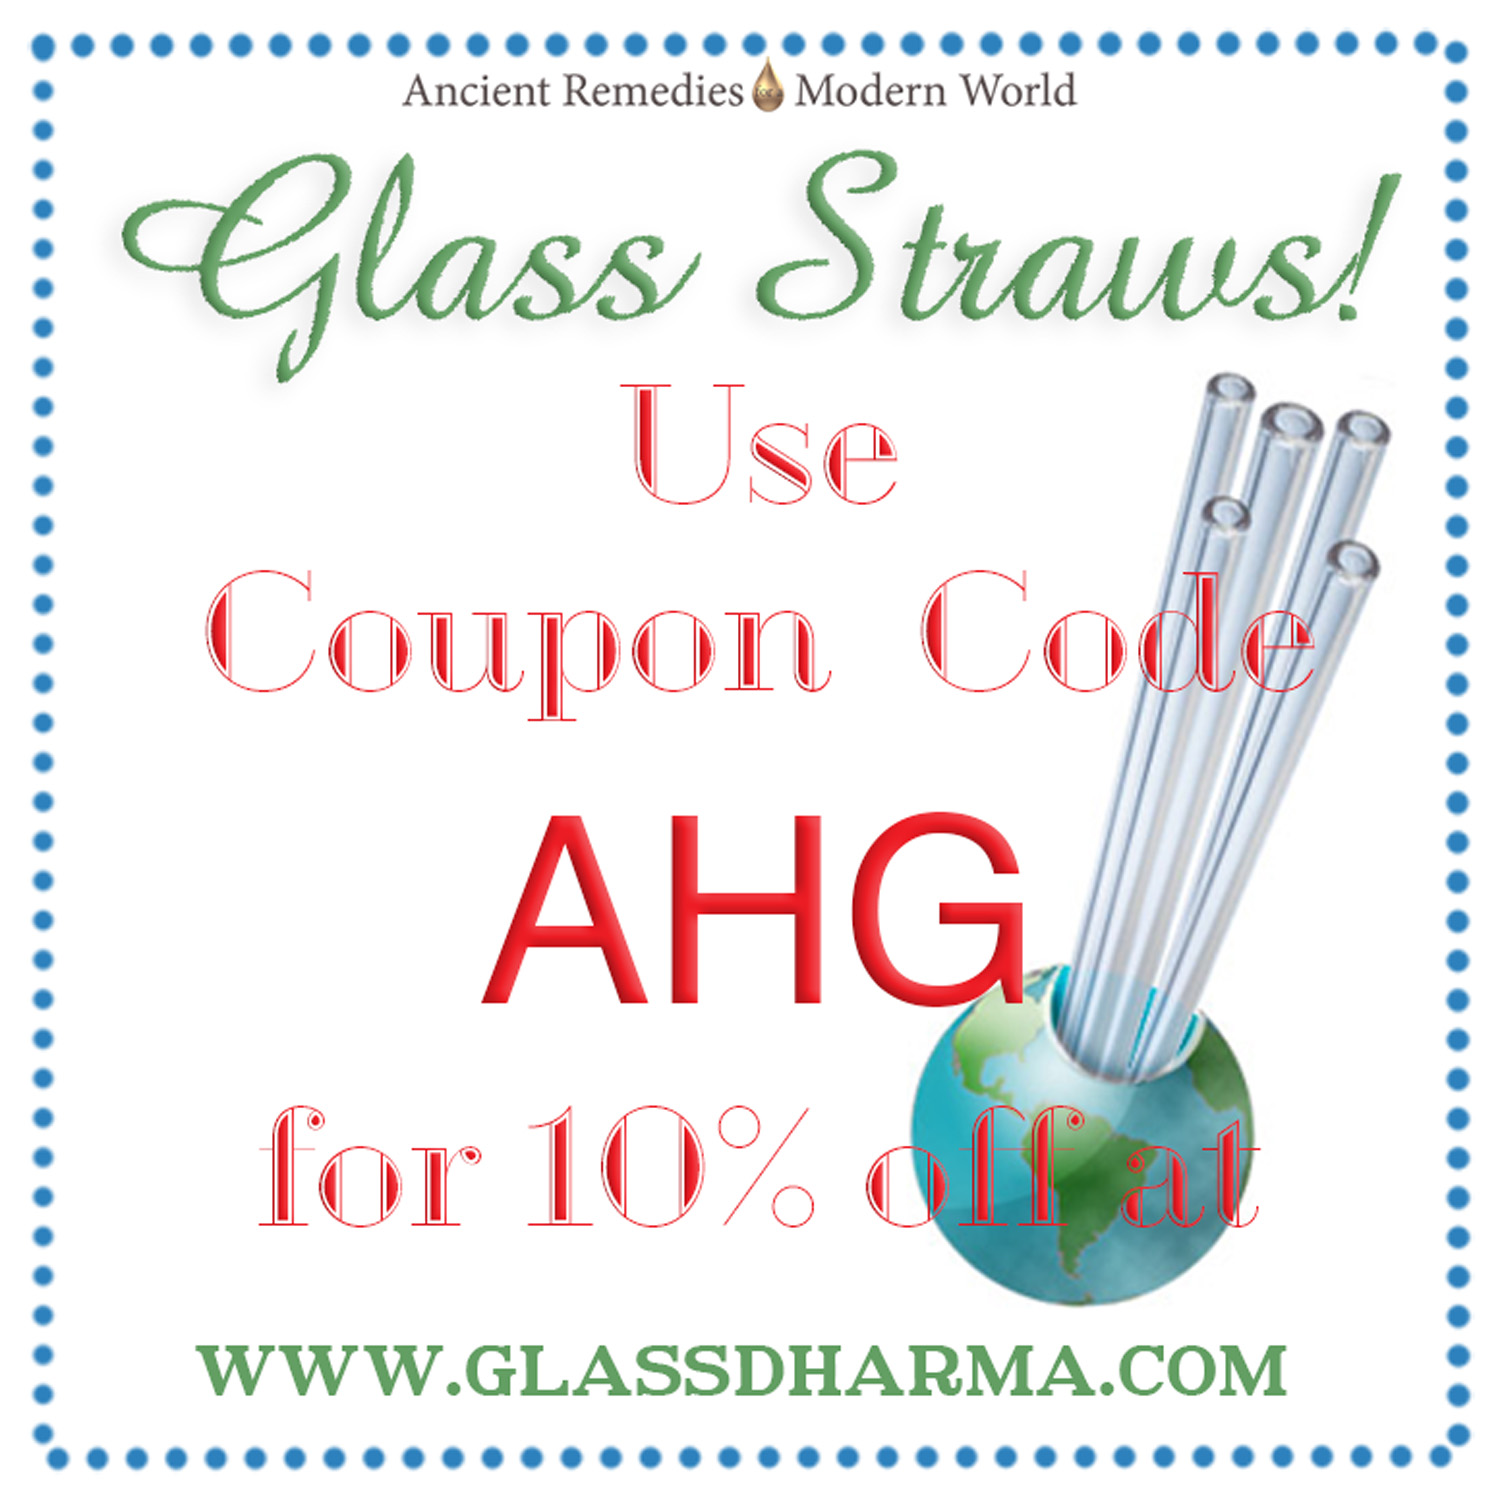
Coupon Code - Glass Straws!

Who loves a discount?  Especially with Christmas just around the corner.  Enjoy a 10% discount on Glass Straws at Glass Dharma when you use the code AHG.  That's a fundraising code.  Every time you use that code, not only do YOU get 10% off, but Glass Dharma will send a small percentage to help support our local American Heritage Girls troop.  Win-win!  Please pin, share, comment and spread the word.  Thanks so much for helping to support the troop and empower these young girls!!
Still here?  Want to know more?  Glass Dharma's products are made right here in the USA.  Triple win!  Hand made glass straws that come with a lifetime guarantee.  They have a small size that even fits into the Eco Jarz canning jar lids.  So if you like to keep your green juices plastic free or maybe you enjoy a refreshing glass of water with some lemon essential oil, then consider picking up a glass straw.  1) Lifetime guarantee.  I mentioned that already, but it's great enough news to mention it again.  2) Dishwasher safe.  Bonus.  3) No plastics!  Did you know that citrus essential oils dissolve petrochemicals?  Now that's awesome if you are interested in helping your body to detox.  But just don't try to add a drop of lemon to your plastic/Styrofoam cup or even a glass cup with a plastic straw.  Don't do it.

What else do you want to know?  Please comment below.  And for more info, head on over to www.glassdharma.com and remember to use the code AHG for 10% off.

Make it a great week!
Michelle

Tuesday, November 25, 2014

Thanksgiving and Christmas Specials!

OFFER EXTENDED!!  Merry Christmas and happy December.  I hope you enjoy a month filled with worship for our One true light who gave life and meaning to Christmas.  

Practical, Versatile, but also decadent.  Luxurious, but also affordable.  If you are thinking about Essential Oils for Christmas, I'm making it easier for you!  I would love to help you out.  Feel free to print this graphic and hand it to your loved one.  Making a Pinterest WishList?  I would love it if you would Pin this!

You can find a file of this graphic for download here: DOWNLOAD


Now through New Years Eve, everyone purchasing a Premium Starter Kit from me will receive some sweet, sweet gifts. 

#1 An incredibly helpful Reference Text

#2 A welcome bag from me.

#3 Access to our Members Only education group on Facebook.


Please contact me at mgeis01@gmail.com for more information.  I love helping!  

If you are ready for your own oils, please purchase yours here.  Feel free to contact me with any questions.  I'm happy walk you through the process.


Young Living just sweetened this special time of year!  Now through Dec 5th, these kits are 10% off.  


And if someone else introduced you to oils, please follow up with them.  Otherwise, I would love to work with you.  Merry Christmas!