We don't have a dedicated home school room. le sigh. And that's ok. I might not even use it even if we did. There is just something perfect about doing school at the kitchen table. It's just something that is "right in the world" for me. But the stuff that comes along with homeschooling. Oh the stuff! Where or where do you put it all? Now that is what I would use a dedicated homeschooling room for. I would make it 3 walls of library and 1 wall for art and timelines and a closet for supplies. Oh how lovely that sounds!
The reality, though. Well it just doesn't look like that. Our timeline runs down the hallway, right next to the swing that is at the end of the hall. (Yes, we have an indoor swing. 4 children + rainy days and winter = indoor swing and monkey bars.) Art is displayed on the counter, until it can be weeded out (you know - like survival of the fittest? Whatever piece of art does not get splashed with lunch, that piece is hung up.) and what is left is hung up on the pantry door.
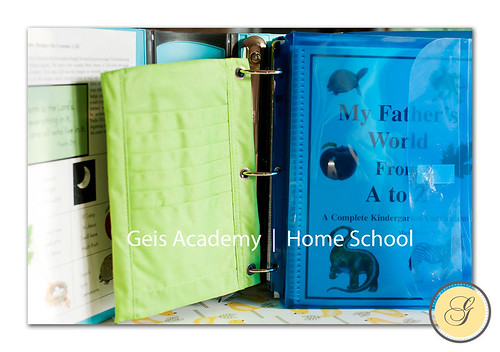
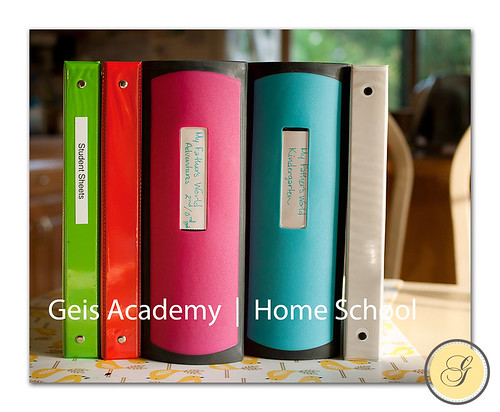
The base of each child's curriculum is contained within a binder, reading material of importance in a book basket, and the rest within a plastic 3-drawer cart (one cart per child). Lovely, yes? Well the binders are!! The plastic carts look tacky to me, but they function well for us. At this stage of life, function trumps fashion.
So let's talk about the binders. My pride and joy of home school organization. First off, I must give credit where credit is due. I found this idea on the Treasure's Unseen blog. Thank you Melanie!!
So the binders are the 3 inch Better Binders from Staples. I suppose any 3" + binder would work, but these are really nice. What is most important is how you load the binder. You need at least 2 Binder Pockets with 1" gussets
1) Smiled with great satisfaction knowing I had found the perfect plan for us. Thanks again Melanie!
2) Loaded a copy of the front cover of Teachers Manual into the front binder slip.
3) Added the badge cards to the front inside pocket for easy access. Slipped the teachers manual into a gusseted binder pocket and put that in the front. The green pocket is storage for some of our favorite pencils.
4) Loaded all the slashed-pocket dividers.
5) Organized the materials by week. We are doing a 4-day school week. Fridays are going to be for fun and reading. My grid schedules - those I downloaded off of the MFW Kindergarten yahoo group. A lovely mama prepared these sheets in excel and shared them with anyone that needed some scheduling help. I altered them to fit our 4-day school + 1-library day school week.
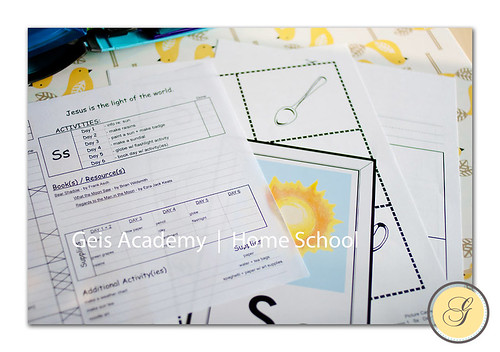
6) Loaded the student sheets, flash card, and schedule for each week. I used one pocket per week. There is just enough room to add in a book or two, as long as they are thin books.
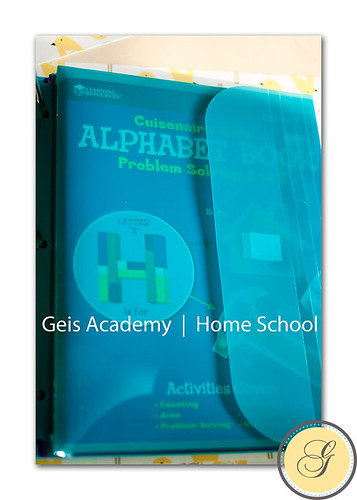
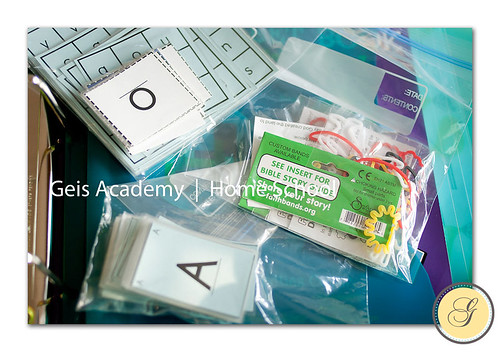
7) In the back of the binder, I added a second gusseted pocket for the alphabet building book, ABC cards, and silly bands. Actually, they are Faith Bands .
. I found packs that represent Creation
 and they work nicely with the first week of Kindergarten. Fun stuff. ;-)
8) Then when I was all done, I loved it so much that I made one for Aislinn, too.






Yes, yes, yes!! I love organizing!! I'm so glad to have found you through the MFW blogroll! We are doing Adventures as well (although my blog is focused on my preschoolers)!
ReplyDeleteLooking forward to following you -- and gaining some new ideas!
You are welcome! ;)
ReplyDeleteI love that it has helped you!
Many blessings!
I would LOVE to know how you compiled your Adv notebook. :) blurryriver@gmail.com. We are lovers of MFW too!
ReplyDeleteThis looks awesome. I'm headed out tomorrow to get one of those binders and the dividers.
ReplyDeletePLEASE PLEASE share the schedule file with me!! I just purchased the MFW K and plan to start in the fall. The teacher's manual seems confusing. I tried to join the yahoo group you mentioned, but it's been pending for a while now.
deandreadean at gmail dot com
Thanks!
Dee
Found your site through a link Aimee posted. Glad I did - I'm so encouraged from the little I've read about all you've done and your prep for MFW...it's motivating and just what I needed to give me a jump-start. Thanks!
ReplyDeleteI love this idea. I have to say I'm a bit intimidated when I think about doing this, but I would love to try and set it up just like this. I'll have to check Staples out for those binders.
ReplyDeleteWould you be able to email the schedule you made up because I would plan for a 4 day week too!
I second Dee's request, membership in MFW K yahoo group has been pending and I can't access the excel file. So inspired, starting K in August (my first homeschool experience) while pregnant and due in Jan! A little intimidated by the new baby whereas I was totally confident to start before getting prego! I have seen some templates but at this point I would greatly appreciate full grids by those who have compiled it all. It looks like that's what you got from the group...if you are willing to share it is jodivanderhoof@aol.com
ReplyDeleteI found your blog through the MFWK Yahoo group and Im so happy that I made it here!! I am out the door to buy all the supplies needed to begin our MFW journey!! Would you mind sharing the files for the 4 day school week? The 6 days they lay out are a bit intimidating....4 is more our style! Any and all help is greatly appreciated! I cant wait to read more of your posts! :)
ReplyDelete